 I’ve been cringing about buying plastic sandwich bags. It seems contradictory to my environmental diligence about plastic grocery bags – I’ve been using reusable grocery bags for years – to be buying and throwing out plastic ziploc bags on a daily basis.
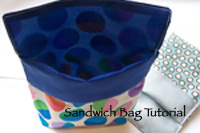
We’ve switched on some things to plastic containers that can be washed and reused. But sometimes, we need a bag. I’m not at the point where I can banish all ziplocs from the house. They’re useful for many things. But for the daily snack bag and sandwich bag we’re switching to these. They’re cute, reusable, and washable.
I made a smaller bag – good for cookies, pretzels, goldfish crackers, chips. And a slightly larger one – good for sandwiches and to hold a small rubbermaid container with a fork.
You’ll need:
- Cotton Fabric – I used quilting weight cotton.
- Nylon Fabric
- Thread
- Scissors
- Sewing Machine
- The ability to sew straight seams and turn corners
 Cut both the cotton and the nylon fabric into rectangles. One each for 1 bag.
- 7″x20″ for the smaller bag
- 9″x22″ for the larger.
 Fold cotton fabric right sides together lengthwise, and mark or pin to mark 3″ down from the top on each side edge. Stitch from that mark, backtacking, down to the middle fold.
Repeat for the nylon fabric.
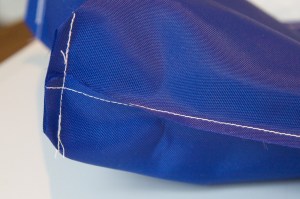
Fold each stitched bottom corner, fold corner so that the seam runs up the middle of a 90 degree triangle. Measure 1″ in from the point of the triangle/end of seam and stitch perpendicularly, backtacking from the side seam to form a box corner.  Trim stitched corner off leaving a 1/4″ allowance.
Repeat on each corner for both cotton and nylon fabric.
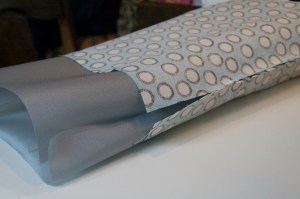
Turn the nylon bag now right side out and insert into the cotton bag so that right sides are together.
Match the edges of the cotton and nylon bags.
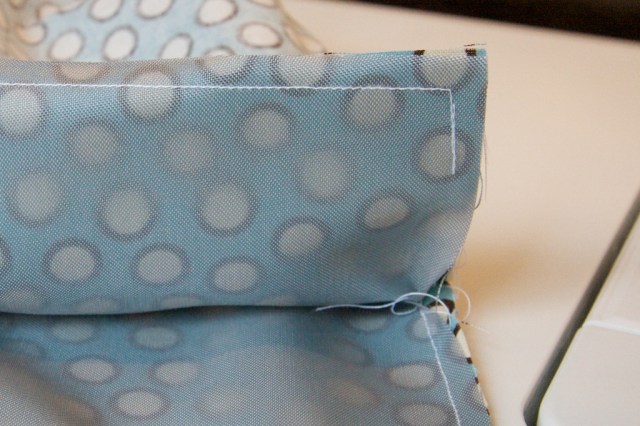
Stitch around (backtacking) one flap starting from the side where the flaps divide, over to the other side divide.
Stitch around the second flap leaving an opening for turning on the side of one of the flaps.
Clip the corners of the tops of the flaps to reduce bulk after turning.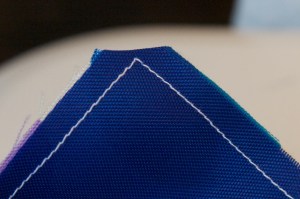
Turn the bags right side out through through the opening. Push points of the flaps with a chopstick or something like that to get corners turned properly. Tuck nylon bag into the cotton one.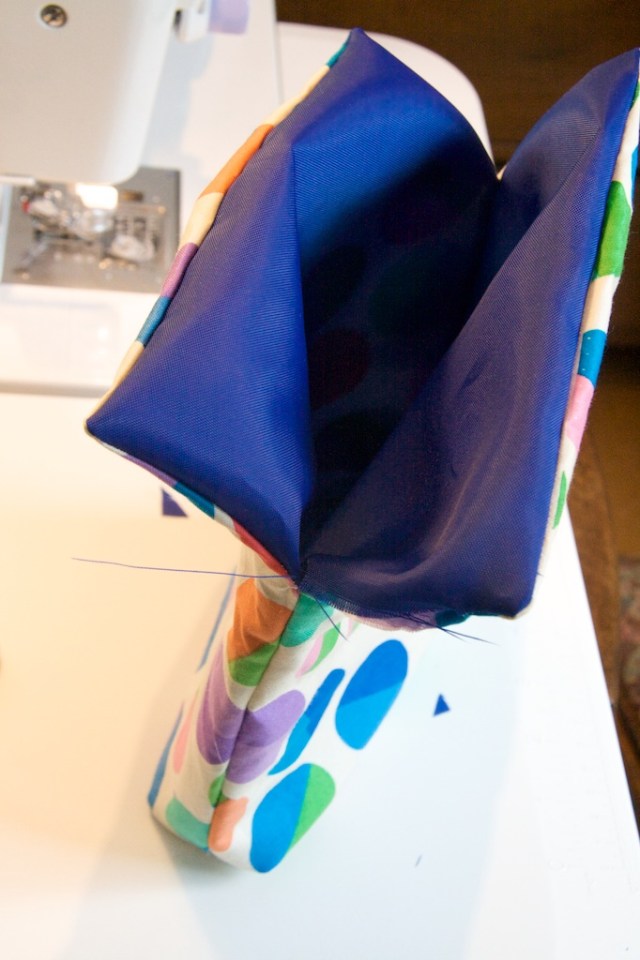
Press gently to flatten seams and topstitch around one flap starting at the divide. I topstitch the side with the opening first to close the opening and be done with that.
Then, topstitch the top edge of the second flap.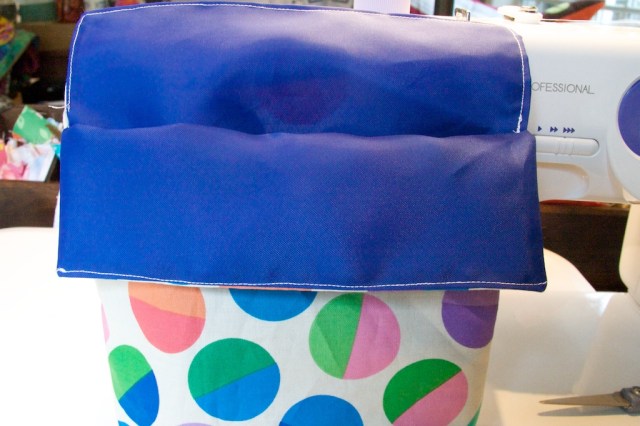
Finally, stitch the second flap down through the side seams and all layers, backtacking to reinforce at both the edge of the flap and the join where the fold meets the first flap as those areas will be the most stressed.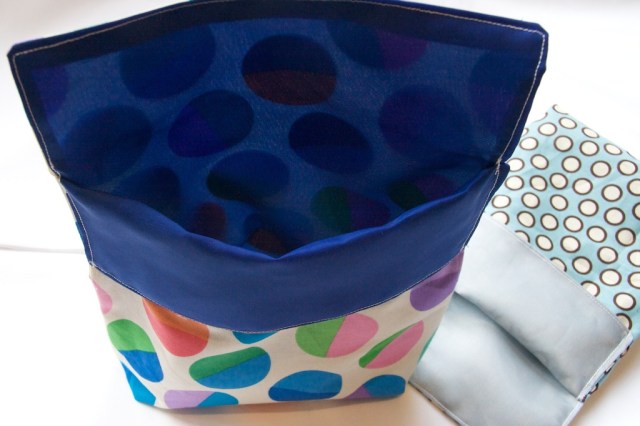
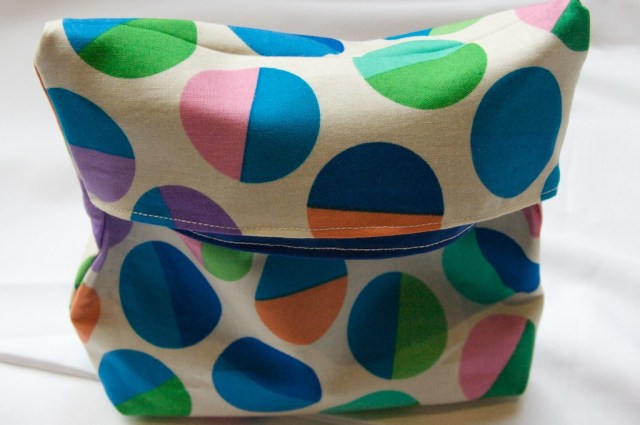
Plastic sandwich bags were more like this when I was growing up vs. the ziploc ones that seem more prevalent now. In case you didn’t use those and don’t know how, to close the bag, flip the folded flap over the upper flap. Ta da!
I like that these don’t have a velcro closure. I not passing any moral judgements on velcro… It’s a wonderful closure mechanism. There are just times when it’s good to able to sneak into a snack bag quietly and without gigantic ripping sounds.
I would prewash the cotton fabric before sewing these. There is always some shrinkage with cotton fabric. The nylon does not shrink. So if you plan on washing these at all, and the cotton hasn’t been prewashed, expect some puckering. That, and I think prewashed fabric is safer around food.
These bags are not watertight or waterproof. They are not good for squishy things. Use at your own risk. I have not tested these for microwave safety. (Let me know if you do!) While I do not believe these pose any risk to small children, they are not intended to be used as a safety device or sleepwear.






You are so inventive. I think these fun little projects (this and the fabric bowls) might be the beginning of a book!
Thanks! I’ve been making and learning things with tutorials from the internet for a while…I figure its payback time now that I’m blogging.
I want to give this a try! Thanks for the excellent tutorial.
Pingback: 45 (plus some) awesome bag tutorials revisited | frugalandthriving.com.au
I don’t think the nylon is good in the microwave.. I know if you iron it you need to use the lightest setting.. I think it melts if it gets too hot..
I made my first sandwich wrap earlier then got the idea to do a fold top bag.. I think I might try this tomorrow.. 🙂
Thanks for your thoughts on this! I haven’t used mine at all in the microwave. They’re for packing up snacks and sandwiches in these parts.
You’re probably right about nylon not microwaving. If you are going to use these in the microwave, use cotton on both sides (and avoid metallic printing on the cotton just in case)
Thanks for a super tutorial, I’m about to go sew a few. I saw the comments on microwaving, we have not had a microwave in 15 years, and don’t miss it at all!
Thanks! I hope the sewing goes smoothly!